

BEFORE: It started with a trip to London and an obsession with locked-door gardens in Notting Hill....

The first thing I added was a door. The door stood there for a year before the fencing was added on either side. A fall clematis was added to create further mystery.

After removing the grass in the center of the space, we used it to make a mound in the middle for a future garden bed, covered by cardboard to kill the grass and feed the soil over winter.

There's the mounded bed, ringed with landscaping rocks found on FB Marketplace (free!). Pathway ready for gravel, thanks to my son's sweat equity, making a level dirt base!

The mound was created to be a focal point that would draw (invited) guests in, and when covered with plants, would also hide the reading nook at the other end.
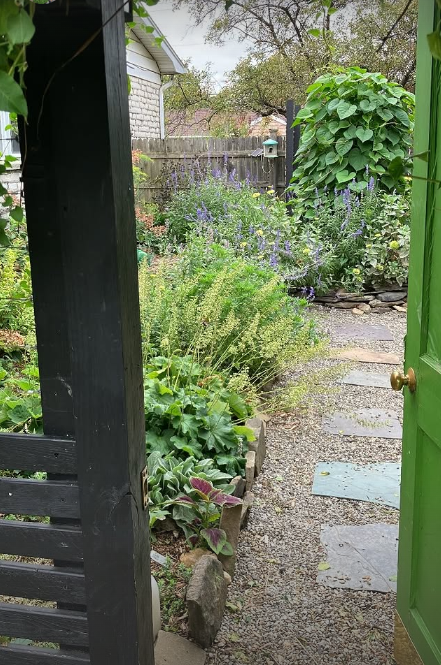
AFTER: A "secret" space planted in shades of green, blue, purple, and white, with gravel pathways, and a Moonflower-planted tower in the middle.
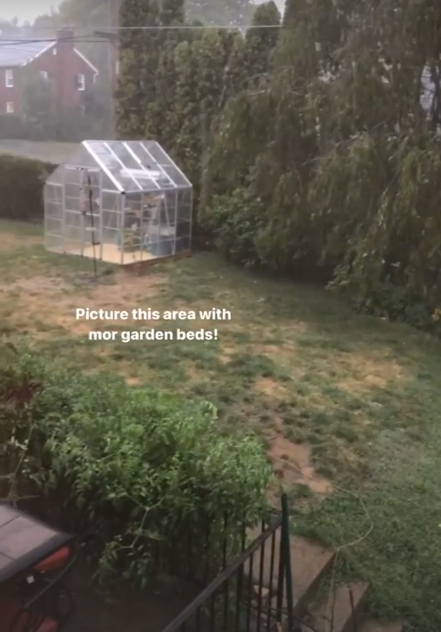
BEFORE: A blank, patchy grass yard (excuse the typo--I was excited!)
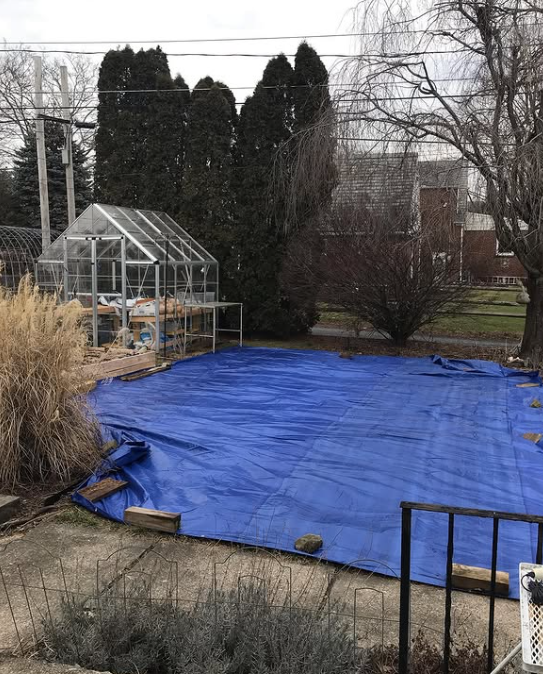
DURING: removing grass the lazy way!
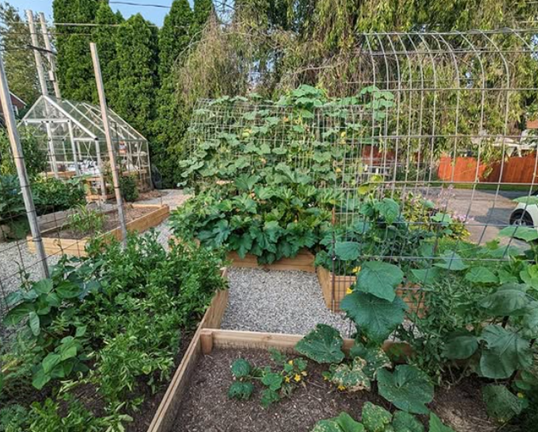
AFTER: A productive and beautiful garden, that requires less weekly maintence than the grassy yard!
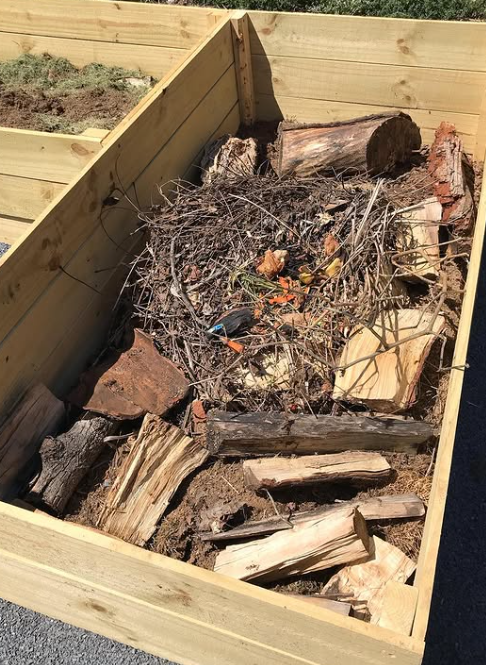
Filling raised beds can be expensive, especially if they're very deep, unless you use a method called Hugelkultur. This method layers materials from around your yard that will break down, providing beneficial mycelium and other nutrients that will feed the plants growing in the beds. I like to start with partially rotten logs on the bottom, topped with twigs.
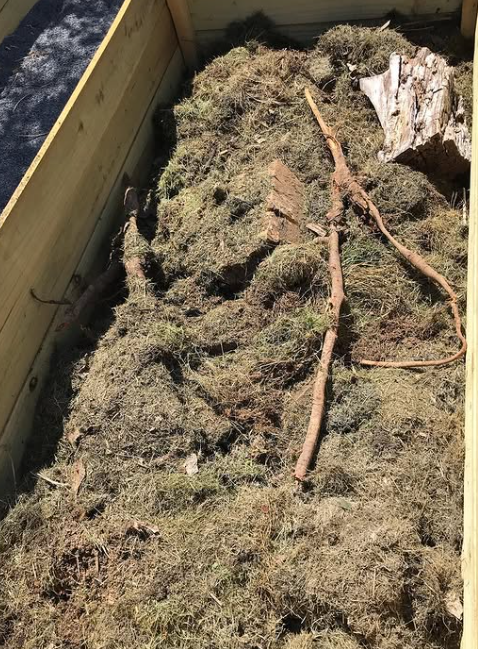
Then I add some grass clippings and straw, and sometimes cardboard and shredded paper.

The last 4-6 inches should be a mixture of compost and topsoil. More materials will need to be added each year as they break down, but you can just repeat the process.
Images: Jen Topp